Related Books


Books / Introduction to HTML, CSS and JavaScript / Chapter 13
Web Page Header and Footer using CSS
When designing a user interface, an important part of creating a consistent experience is to design a consistent look and feel for the page. To create a look and feel, the first task is to develop and implement consistent page layout. Here that involves creating a header and footer section for the page.
To start the format for the header should be defined. A typical header presents information such as a title associated with the program or entity, other heading elements (such as the organization), a logo, and author information. Also, in the header is a menu of options for the system, which for now will contain the entries Home, File, and About. The header we will create for this page is as follows.
HTML provides two element selectors to make it easy to format the header
and the footer of a web page, the <header> and <footer> tags. This section
will format the header element.
CSS Syntax
CSS code is defined in a section of the HTML web page between <style>
and </style> tags. Between these tags, CSS code is
embedded into the HTML, just as JavaScript was embedded in the HTML.
This CSS code contains display elements, or properties, that inform CSS
how to render the page. The format for CSS is the following:
<style>
    selector {
        attribute1 : value1;
        attribute2 : value2;
    }
</style>
In CSS, a selector is entered, and then associated with a block of properties to apply to that selector. There are 4 types of selectors that will be covered in this text. They are:
-
Element selectors, which are tags such as the
<header>and<p>tags. -
Class selectors, which apply to a group of items. Class selectors start with a “.”, such as
header-iconor.header-desc, and are them referenced using the “class=.header- desc” syntax in the element ag. -
Id selectors, which apply to a single element referred to by its unique id. Id selectors start with a “
#”, such as “#inputForm”. The id attribute in the tag is used to reference the selector. -
Attribute selectors, which apply to attributes of a tag. For example, to make all textboxes which are
readonlyhave a gray background, the following display attribute tag would be use:<style> input:read-only { background-color: lightgray; } </style>
This attribute informs CSS to take any input tag which has a read-only attribute and make the background color gray.
Each of these selectors will be explained in context in the following sections that style the input form.
Display attributes, or properties, allow the programmer to describe how to display the information that will later be associated with the tag. Properties like font, background-color, border box, indentation, and literally scores of other attributes can be set. A complete list of all attributes that can be set is at https://developer.mozilla.org/en-US/…/CSS/Reference.
Semantic Tags
The <header> is an element selector. It is also called a semantic tag.
Semantic tags are tags that are intended to simply provide formatting
information, but have meaning about the information, or structure of the
information, on the page web page. To better understand semantic tags,
consider some of the tags in HTML that have been deprecated. For
example, the <b> (bold) tag says what to bold the text (what to do
with it). The <strong> tag describes the text as important, and to
render the text as important, normally by bolding it. Similarly, the
<i> (italicize) tag has been deprecated in favor of the <em>
(emphasis) tag. In both of these examples, the new tags say something
about the text, not something to do to the text.
The <header> tag describes semantic information, that what is contained
between the <header> and </header> is a specific part of the page (the
header), and not some random division on the page. The header is the
block at the top of a page, and the information associated with it is
specifically how to format the header of the document.
Setting up the header block
The header of a document is the part of the document that is displayed at the top of the web page. The properties to define how the header should appear are set as display attributes when the header tag is defined. The header tag is defaulted as follows in CSS.
<style>
    header {
        display: block;
    }
</style>
The default <header> tag includes just one attribute, display:block, which
specifies that the header sites in a block by itself at the top of the
document. In CSS, a block attribute means create a space
that spans from the left to right margin of the element or page,
allowing no other elements to be displayed to the left or the right.
This is the normal behavior of a header, which generally spans the
entire length of the top of the page. Like any display attribute can be
overridden if needed.
The header for the example page developed in this chapter will be built in stages in the subsections below.
Changing the background and text colors
The first attributes to be change will make the box a dark color (we
will use slategray) and make the text white. This is done by setting
the attributes background-color to slategray, and color to
white.
To make the header stand out more, a box will be placed around the header, using a 2-pixel large blue line. The header is also indented 50- pixels from the sides and top and bottom. This results in a first pass for the header in the following code.
<html>
    <head>
        <title>Please change this to the title of your page </title>
        <style>
            header {
                margin : 50px;
                border : 2px solid blue;
                background-color : slategray;
                color : white;
            }
        </style>
    </head>

    <body>
        <header>
            <h1>This shows the header style.</h1>
        </header>
    </body>
</html>
The page resulting from this program looks as follows:

Changing the font size using the <p> tag
The text inside of the header should be larger than the normal text in
the document, to make it stand out. Normally text is placed inside of <p> (paragraph) tags in a document, and the styling attributes applied to
the <p> tag. The following example shows how the font-size can be changed for
the <p> tag to be 150% of its normal size.
<html>
<head>
<title>Map Example Input Screen </title>
<style>
header {
margin : 50px;
border : 2px solid blue;
background-color : slategray;
color : white;
}
p {
font-size : 150%;
}
</style>
</head>
<body>
<header>
<h1>Map Example Input Screen</h1>
<p> Gettysburg Research Institute
<p>
</p>
</header>
<p>
Text to show effect of different <p> tag combinations
</p>
</body>
</html>
When running this page, it is obvious that all the text in the document
is 150% of the normal size, not just the text in the header. Changing
the <p> tag caused the text in all of the <p> tags in the entire file to have the increased size of text
To correct this so that the <p> tag will only affect the header, CSS allows tags to be combined so that
changes to only have effect when use inside of a specific division or
section of the page. The syntax for combining header and p tags is:
header p {
    font-size : 150%;
}
The code for the previous page has been changed so that only in the
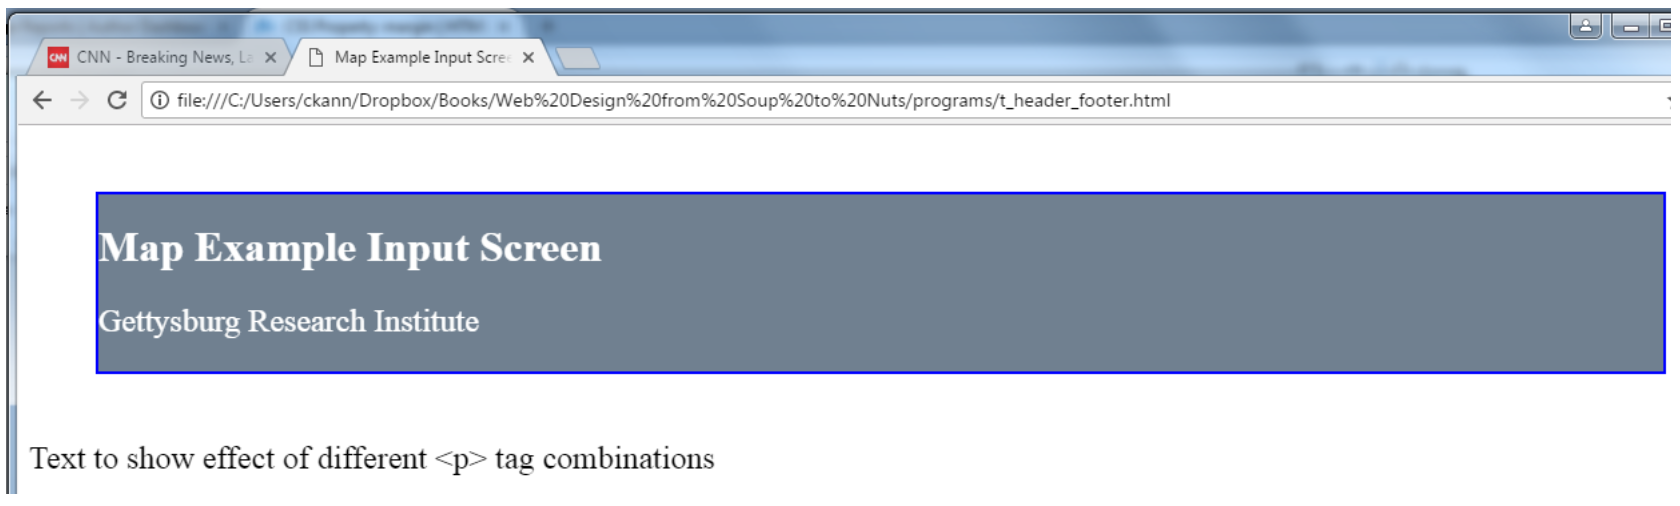
header does the <p> tag change the size of the text to 150% of the normal size.
<!-- Program 76 – Paragraph text only affecting the header of the document -->
<html>
<head>
<title>Map Example Input Screen </title>
<style>
header {
margin : 50px;
border : 2px solid blue;
background-color : slategray;
color : white;
}
header p {
font-size : 150%;
}
</style>
</head>
<body>
<header>
<h1>Map Example Input Screen</h1>
<p> Gettysburg Research Institute
<p>
</p>
</header>
<p>
Text to show effect of different <p> tag combinations
</p>
</body>
</html>
The result is the <p> tag only effecting the text in the header of the document.

Dividing up the header block
In Figure 6, the header had 3 separate areas, one for the logo, one for
the title and page information, and one area for the options to be
implemented. To divide a web page into parts, a <div> (or
division) tag is used. The <div> tag is the most useful of all CSS tags, as
it can be used to break up a web page into different areas, and to
assign different styling or information types to those areas. For now,
it will be used to break the header into 3 pieces.
To break the header up into 3 pieces, 3 divisions are created. These are all placed inside of the header section and can be thought of as parts of or children of the header section. This allows these 3 divisions are to appear inside of the web page header. These 3 division are shown below.
<!-- Program 77 - Dividing the header into 3 divisions. -->
<header>
<div id="header-icon">
<img src="GRI_logo.png" />
</div>
<div id="header-desc">
<h1>Map Example</h1>
<p>
Example map input screen <br>
© Gettysburg Research Institute
</p>
</div>
<div id="header-menu">
<p>
Home File About
</p>
</div>
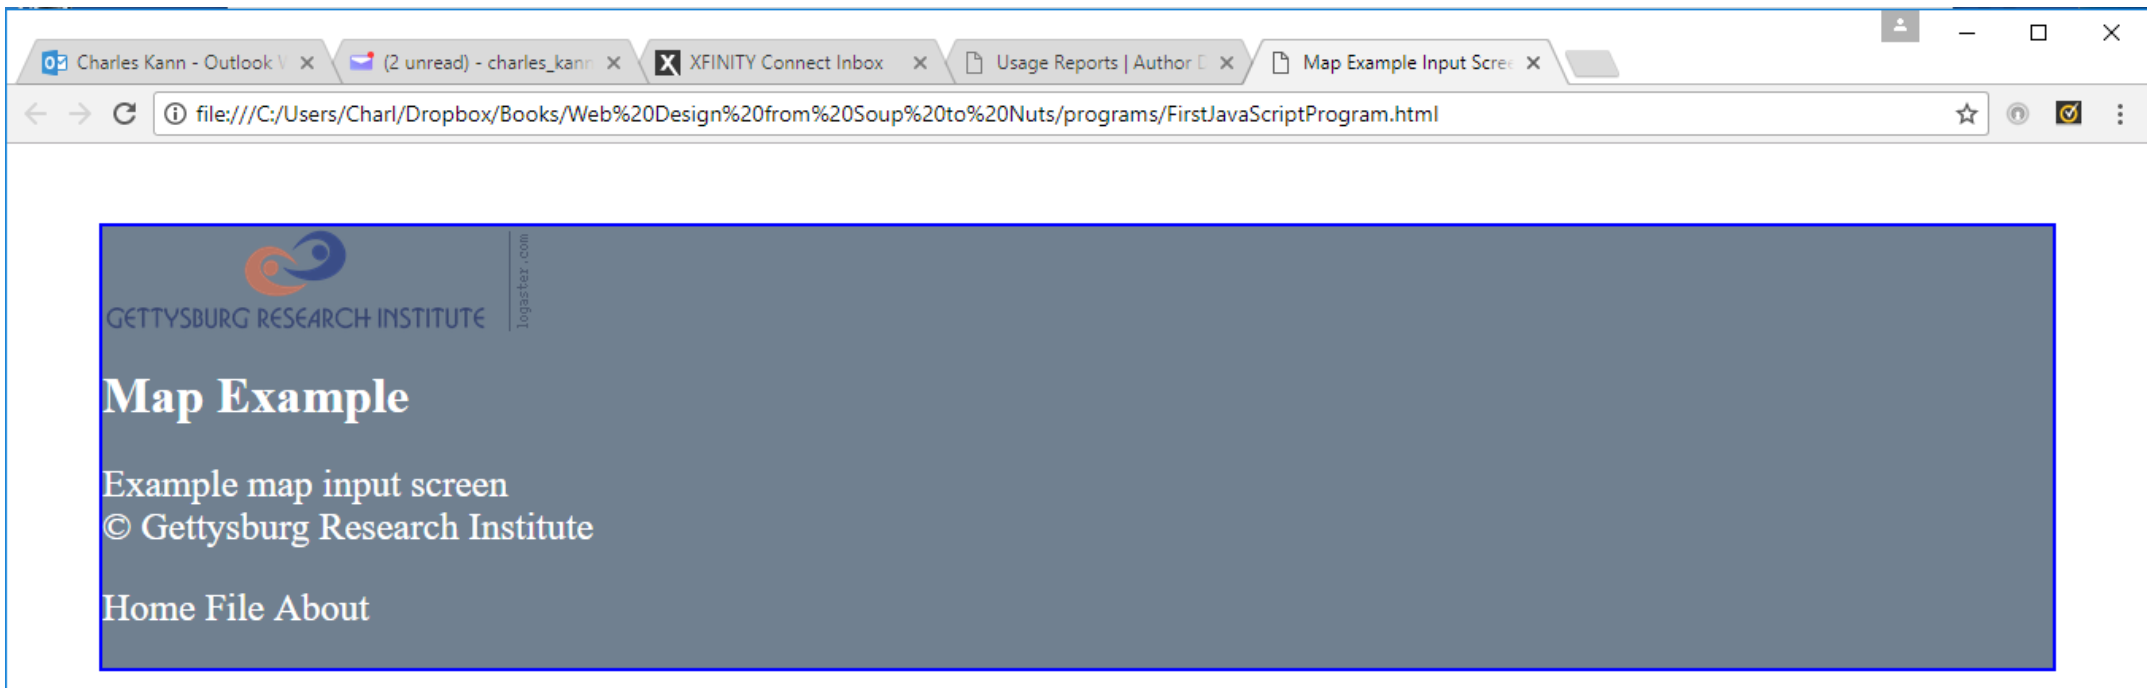
This code only divides up the header so that the DOM knows they are 3 separate areas inside of the header. The DOM does not know how to display them, so it just places them in separate blocks, as shown below.
To make the divisions work as intended, they must be styled.
To style each division, the divisions must be given a way to reference
them. If there are a number of divisions to be styled the same, normally
a class variable is defined in CSS, and referenced using the class
attribute in the tags. If the division is to be uniquely styled, it will
be given an id attribute, and CSS will style it using an id
variable. Since the divisions in the header will be unique for the
header, they will use id variables to reference and style them. Note
in the program above, the individual divisions have been assigned the
names header-icon, header-desc, and header-menu. This follows CSS
conventions which favor hyphenated names.
When referencing id names in CSS, the name is prepended with a hash
tag (#). For example, to set the header-desc to be a display of
inline-block the following would be used.
#header-desc {
    display : inline-block;
    margin : 25px;
}
Careful readers will remember that this is how id variables were referenced in JQuery. JQuery uses CSS naming conventions to access DOM elements. This was alluded to earlier, but now is made explicit. Thus, to use JQuery at least a passing knowledge of CSS is necessary to know how to access DOM elements
The main purposed of the CSS for these header divisions is to set the display parameters for them. The choice of inline-block tells the DOM to lay these divisions out as blocks, one after another on the same line. The margin tells the DOM how far to space the elements apart.
The last attribute set in the header divisions is the float attribute.
The float attribute defines which side of the line to place the
attribute on. Normally inline and inline-block elements start at the far
left and are placed after each other from left to right. By saying
float: right, the program is saying place this element starting at the
far right, and then place subsequent elements moving from right to left.
Menus items generally are place at the right of the header to balance
the header.
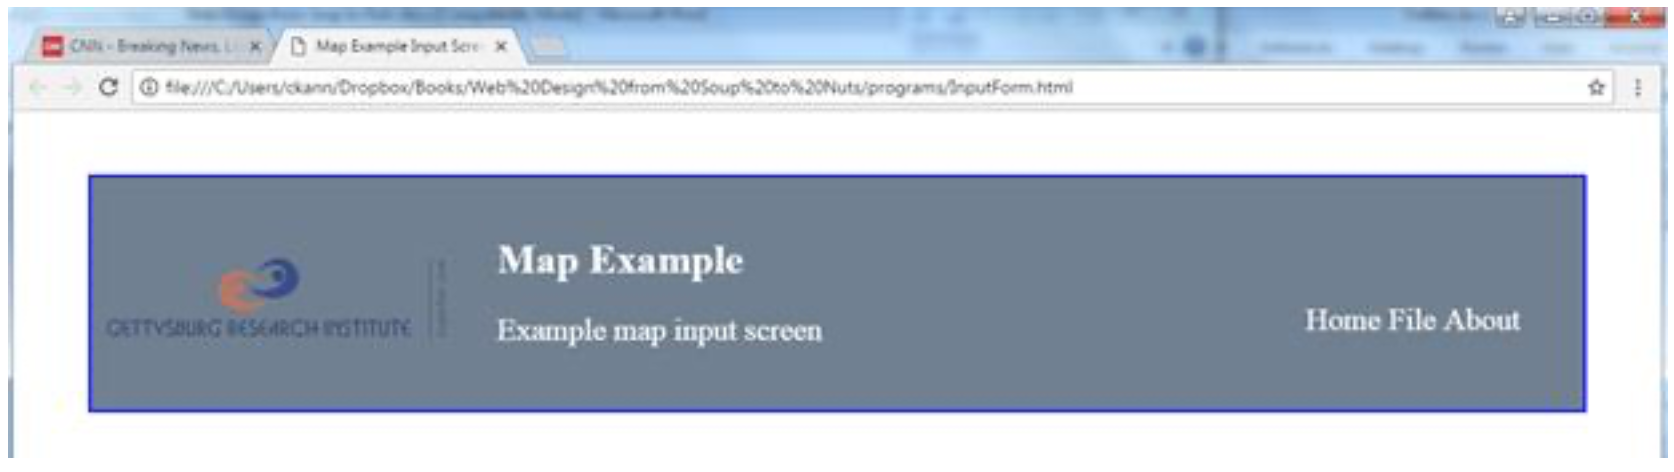
The final CSS code for this example is shown below.
<html>
<head>
<title>Map Example Input Screen </title>
<style>
header {
    margin : 50px;
    border : 2px solid blue;
    background-color : slategray;
    color : white;
}

header p {
    font-size : 150%;
}

#header-icon {
    display : inline-block;
    margin: 50px 10px 50px
}

#header-desc {
    display : inline-block;
    margin : 25px;
}

#header-menu {
    display : inline-block;
    float: right;
    margin : 75px 50px 50px 50px;
}
</style>
</head>
<body>
<header>
<div id="header-icon">
<img src="GRI_logo.png" />
</div>
<div id="header-desc">
<h1>Map Example</h1>
<p>
Example map input screen <br>
© Gettysburg Research Institute
</p>
</div>
<div id="header-menu">
<p>
Home File About
</p>
</div>
</header>
</body>
</html>
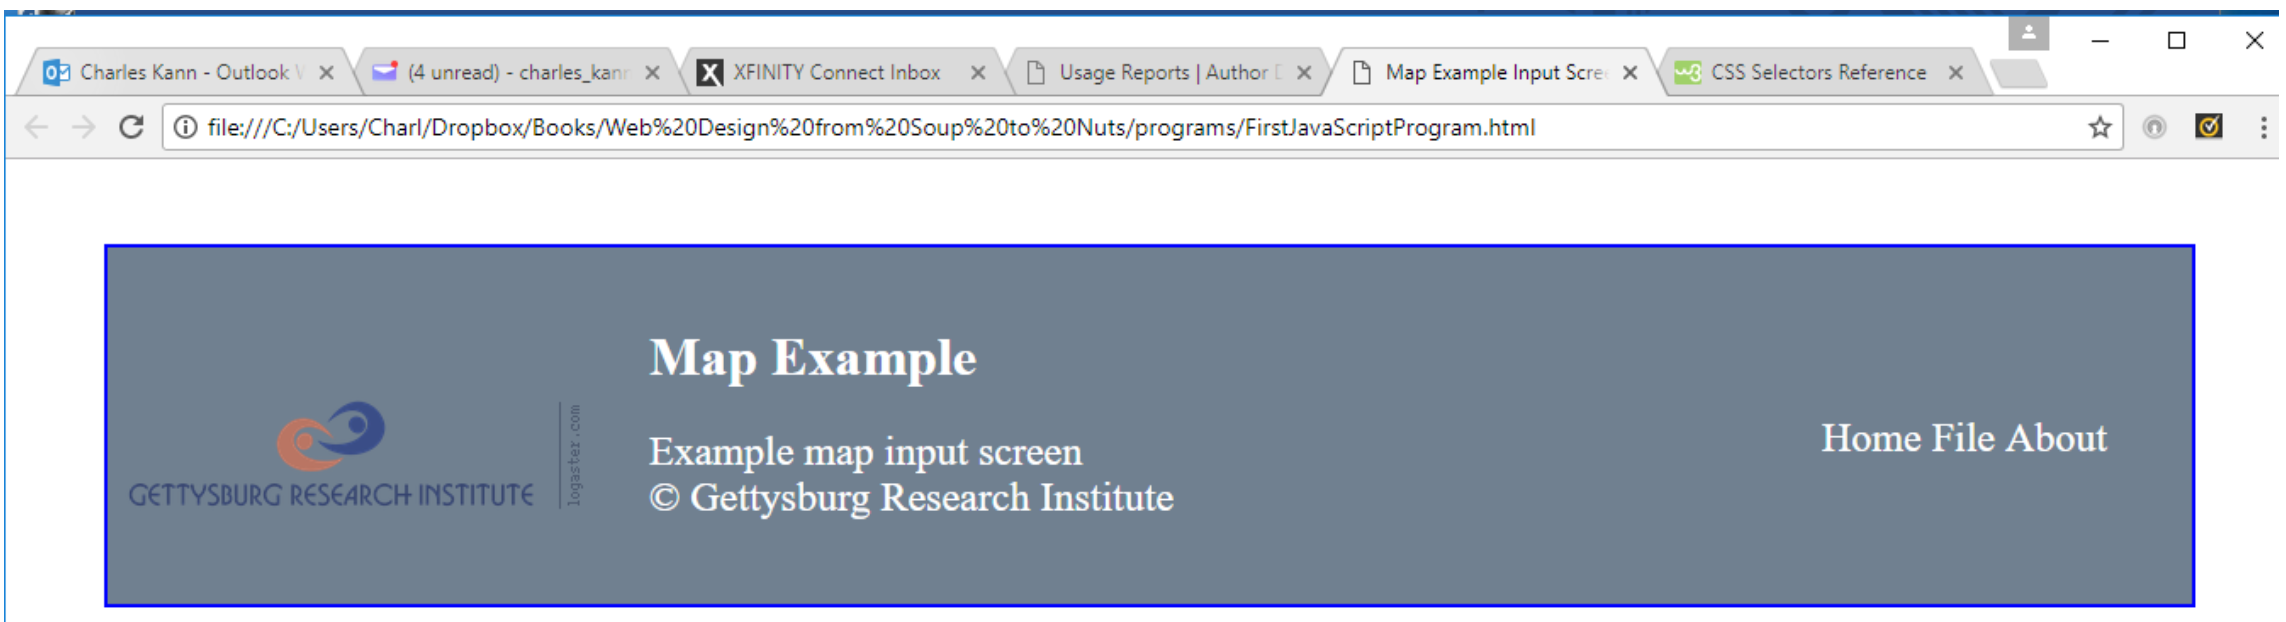
This program gives the final, completed header for the page.
Managing CSS
To make managing a project and writing and reading source code easier, the CSS source code for a web page is generally kept in a separate file from the html source. This file separation achieves a number of positive benefits: 1) it keeps the styling information separate from the application information, which makes it easier to read and understand the HTML program; 2) By separating the styling and program, UI designers can work on the styling the application without interfering with the programmers developing the application.
For the header developed above, the file containing the CSS could be
kept in the file WebMapExample.css, and the HTML could be kept in the
file MapExample.html. The CSS file is included in the web page using a
<link> tag.
<link rel="stylesheet" type="text/css" href="WebMapExample.css">
The contents of the WebMapExample.css file is:
header {
margin : 50px;
border : 2px solid blue;
background-color : slategray;
color : white;
}
header p {
font-size : 150%;
}
#header-icon {
display : inline-block;
margin: 50px 10px 50px
}
#header-desc {
display : inline-block;
margin : 25px;
}
#header-menu {
display : inline-block;
float: right;
margin : 75px 50px 50px 50px;
}
The application file, MapExample.html, is now much simpler, and easier
understand.
<html>
   <head>
      <title>Map Example Input Screen </title>
      <link rel="stylesheet" type="text/css" href="WebMapExample.css">
   </head>
   <body>
      <header>
         <div id="header-icon">
            <img src="GRI_logo.png" />
         </div>
         <div id="header-desc">
            <h1>Map Example</h1>
            <p>
               Example map input screen <br>
               Gettysburg Research Institute
            </p>
         </div>
         <div id="header-menu">
            <p>
               Home File About
            </p>
         </div>
      </header>
   </body>
</html>
In the real world, most programmers will deal with the HTML and JavaScript, and UI/UX designers will handle the CSS for a web page. However, both sides, programmers and UI/UX designers, should know enough about the other technologies to be able to interface effectively with their counter parts.
Quick Review
-
What are the four types of CSS tags? Give an example of each and describe how you might use them.
-
In your own words, describe semantics? What is an HTML semantic tag, and how does it differ from a formatting tag?
-
What is the difference between a display:block and a display:inline-block attribute? How were they used to set up the header division of the web page?
-
How would you hide a division of an HTML document?
-
Create a CSS file and include it in another HTML file. Does the name have to be “.css”?