Related Books


Books / Setting Up Development Environment on macOS / Chapter 3
iTerm2 Setup and Customization
iTerm2 is an open source replacement for Apple’s Terminal. It’s highly customizable and comes with a lot of useful features.
Installing iTerm2
Use Homebrew to download and install:
brew install --cask iterm2
If the installation is successful, you’ll see the following message:
==> Installing Cask iterm2
==> Moving App 'iTerm.app' to '/Applications/iTerm.app'
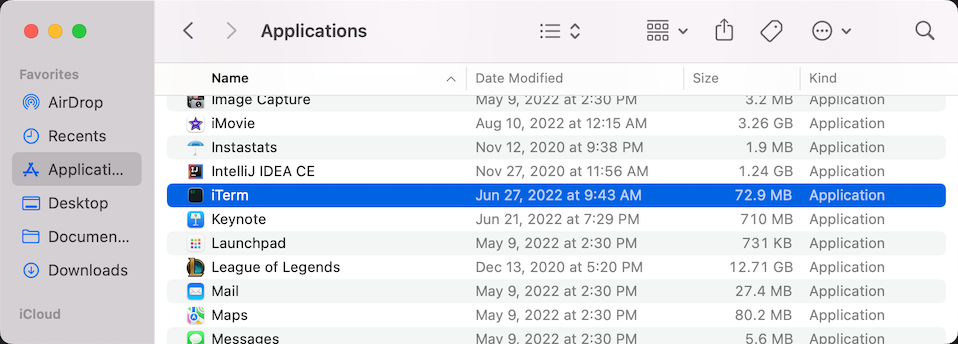
To open iTerm, navigate to the Applications menu using finder and click on iTerm.
After you open iTerm, right click on the iTerm icon in the Dock and choose Options > Keep in Dock.
iTerm2 Customization
Minimal Theme
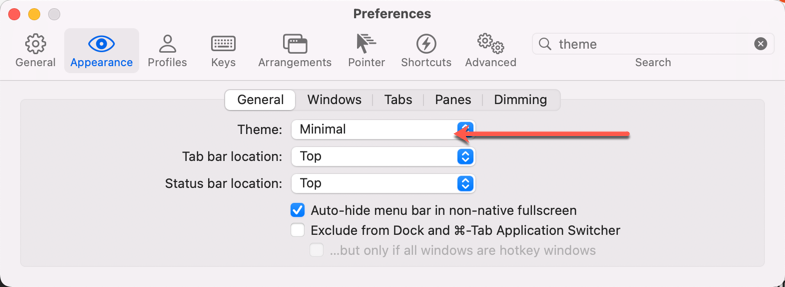
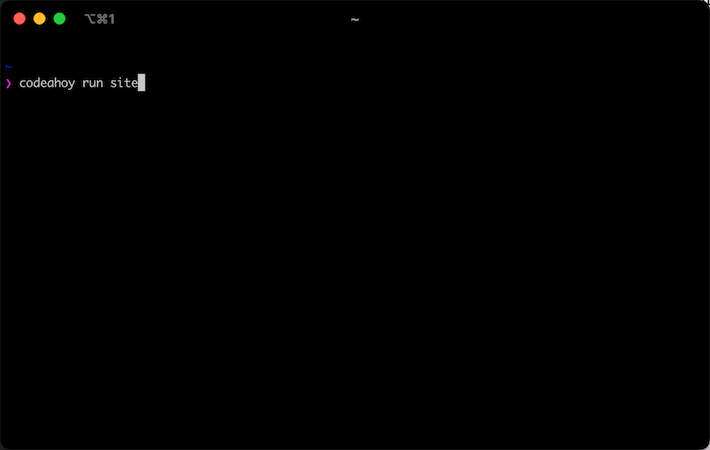
Your iTerm2 terminal should look like this after the change.
Installing Theme
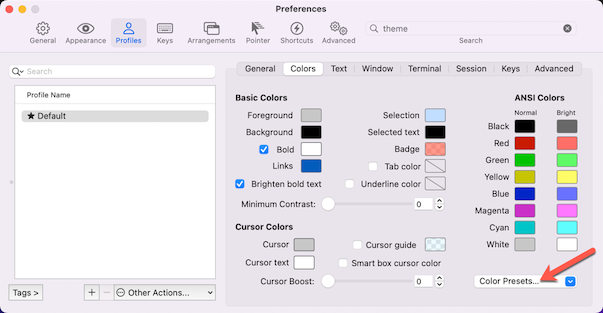
Download one of iTerm2 color schemes and then set these to your default profile colors.
To install the Snazzy theme, first download it.
(curl -Ls https://raw.githubusercontent.com/sindresorhus/iterm2-snazzy/main/Snazzy.itermcolors > /tmp/Snazzy.itermcolors && open /tmp/Snazzy.itermcolors)
iTerm2 should automatically pick it up and notify you but you can also set the theme by navigating to Preferences > Profiles > Colors > Color Presets: Snazzy.
Colors and Font Settings
Here are some suggested settings you can change or set, they are all optional.
- Set hot-key to open and close the terminal to
command + option + i - Go to profiles -> Default -> Terminal -> Check silence bell to disable the terminal session from making any sound
- Change the cursor text and cursor color to yellow make it more visible
- Change the font to 14pt Source Code Pro Lite. Source Code Pro can be downloaded using Homebrew
brew tap homebrew/cask-fonts && brew install --cask font-source-code-pro - If you’re using BASH instead of ZSH you can add
export CLICOLOR=1line to your~/.bash_profilefile for nice coloring of listings
MacOS shortcuts ⌘←, ⌘→ and ⌥←, ⌥→
You might be familiar with shortcuts to skip a word (⌥) or go to start/end of the line (⌘). iTerm is not set up to work with these shortcuts by default but here’s how you set them up:
Open up iTerm2 preferences (⌘ + ,) -> Profiles -> Keys -> Click on + icon (add new Keyboard shortcut).
| shortcut | action | Esc+ |
|---|---|---|
| ⌘← | Send Escape Sequence | OH |
| ⌘→ | Send Escape Sequence | OF |
| ⌥← | Send Escape Sequence | b |
| ⌥→ | Send Escape Sequence | f |
Touch ID sudo workaround
If you have enabled sudo authentication with Touch ID you will also need to set Preferences -> Advanced -> Allow sessions to survive logging out and back in to No in iTerm2 preferences.
Minimalist ZSH prompt (Optional)
Pure gives you a minimalist prompt if you are using the z-shell. According to it’s documentation, it:
- Comes with the perfect prompt character. Author went through the whole Unicode range to find it.
- Shows git branch and whether it’s dirty (with a *).
- Indicates when you have unpushed/unpulled git commits with up/down arrows. (Check is done asynchronously!)
- Prompt character turns red if the last command didn’t exit with 0.
- Command execution time will be displayed if it exceeds the set threshold.
- Username and host only displayed when in an SSH session or a container.
- Shows the current path in the title and the current folder & command when a process is running.
- Support VI-mode indication by reverse prompt symbol (Zsh 5.3+).
- Makes an excellent starting point for your own custom prompt.
How to install Pure
We’ll install Pure using zplug.
brew install zplug
Add the following lines to your .zshrc file:
export ZPLUG_HOME=/usr/local/opt/zplug
source $ZPLUG_HOME/init.zsh

zplug mafredri/zsh-async, from:github
zplug sindresorhus/pure, use:pure.zsh, from:github, as:theme

# > zplug
if ! zplug check --verbose; then
    printf "Install? [y/N]: "
    if read -q; then
        echo; zplug install
    fi
fi

# > zplug
zplug load
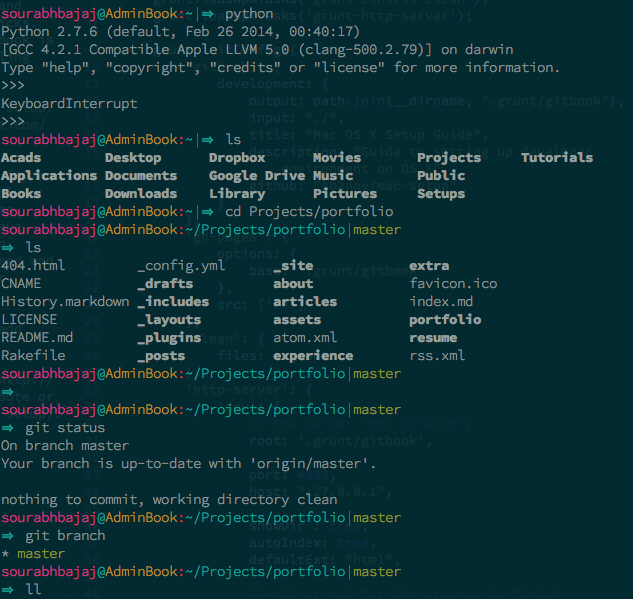
If the installation is successful, your prompt should look like: